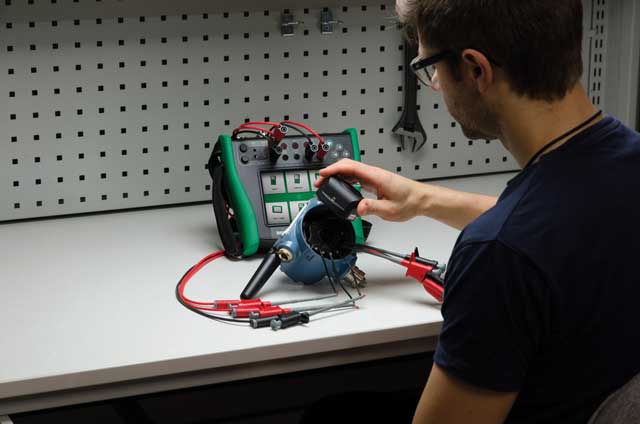
The instruments that keep your production process within specification need to be calibrated themselves to make sure they’re accurate. Heikki Laurila, product marketing manager at Beamex, discusses how often you need to check them
Measurement is an integral part of process and quality control. But measurements are meaningless unless you know the accuracy or error of the measuring instrument. This is the purpose of calibration: to check the instrument against a known standard. But how often do you need to do this?
In this article an “instrument” refers to a pressure or temperature transmitter. Their purpose is to measure and monitor the temperature or pressure at set positions in a process plant.
How often should an instrument be calibrated?
How often to calibrate is a question often asked, but unfortunately there is no simple answer. There are several considerations that affect the answer when designing a suitable calibration regime. If you took a poll of instrument engineers, the most common answer would be “once a year”, but this is often based on convenience rather than considering the process or production requirements. Let’s look at some of the most important considerations.
Process tolerance requirement vs. instrument accuracy
In many process plants, a decision is made to standardise on a particular instrument for all suitable applications. This is understandable from an operations and maintenance viewpoint – it results in optimising the range of spares holdings and makes it easy to replace a defective instrument, minimising downtime and loss of production.
You end up with a standard instrument, with the same instrument accuracy, uncertainty and long-term drift being applied to a wide range of process applications. But the tolerance of the “standard” instrument is then used to define the calibration tolerance for all applications, which is not good practice.
The accuracy of measurement required by the process should determine the accuracy required for calibration – specify this wrongly and your instrument technicians may spend totally unproductive time trying to adjust an instrument into an unsuitably tight calibration tolerance. If the tolerance is correctly specified, the number of instruments that require to be adjusted and then recalibrated will be reduced.
Measurement Criticality
The criticality of measurement is key to determining the interval between calibrations and, unfortunately, again there is no simple answer. In many cases the default period tends to be annually. In the absence of any process-specific information, the interval provided by the instrument manufacturer is an easy and good starting point.
In certain applications the regulatory requirements define the calibration period. Some locations are non-critical and do not require as accurate a measurement as the transmitter’s specifications are, so these locations can be calibrated less often and the tolerance limit for those locations can be greater than the transmitter’s specification.
In certain applications, such as in some batch processing production, the criticality of the measurement is so high that the instruments used in the process may require calibration prior to each batch, and in very critical applications even after the batch to make sure that the measurements have been accurate throughout the batch.
In general, however the calibration interval should be determined by the consequences of a particular process measurement being out of tolerance. For example, instruments used in safety critical applications may require recalibration every three months.
How accurate is accurate enough?
Though the discussion above relates to the calibration of process instruments, much the same also applies to the calibration of the reference standards or calibrators used on site.
Of primary consideration is that the calibrator is sufficiently accurate for all the most critical calibration needs, not just now but in the future as well. Buying and operating a calibration system that isn’t accurate enough for future needs may be wasted money. Equally, though investing in a reference standard that is too accurate is not detrimental from a metrology viewpoint, the lifetime costs may be higher than necessary.
The usability of the calibrator or reference standards is also an important consideration. The most expensive and accurate reference standards tend to measure a single variable, which means carrying and managing multiple references.
In this article we have only been able to discuss some of the more important factors in deciding how often to calibrate. But hopefully it’s clear that a more sophisticated approach than the default “once a year” regime should be considered.
This article is an edited version of a more detailed discussion of factors that affect calibration periods that may be found on the Beamex website – https://blog.beamex.com

